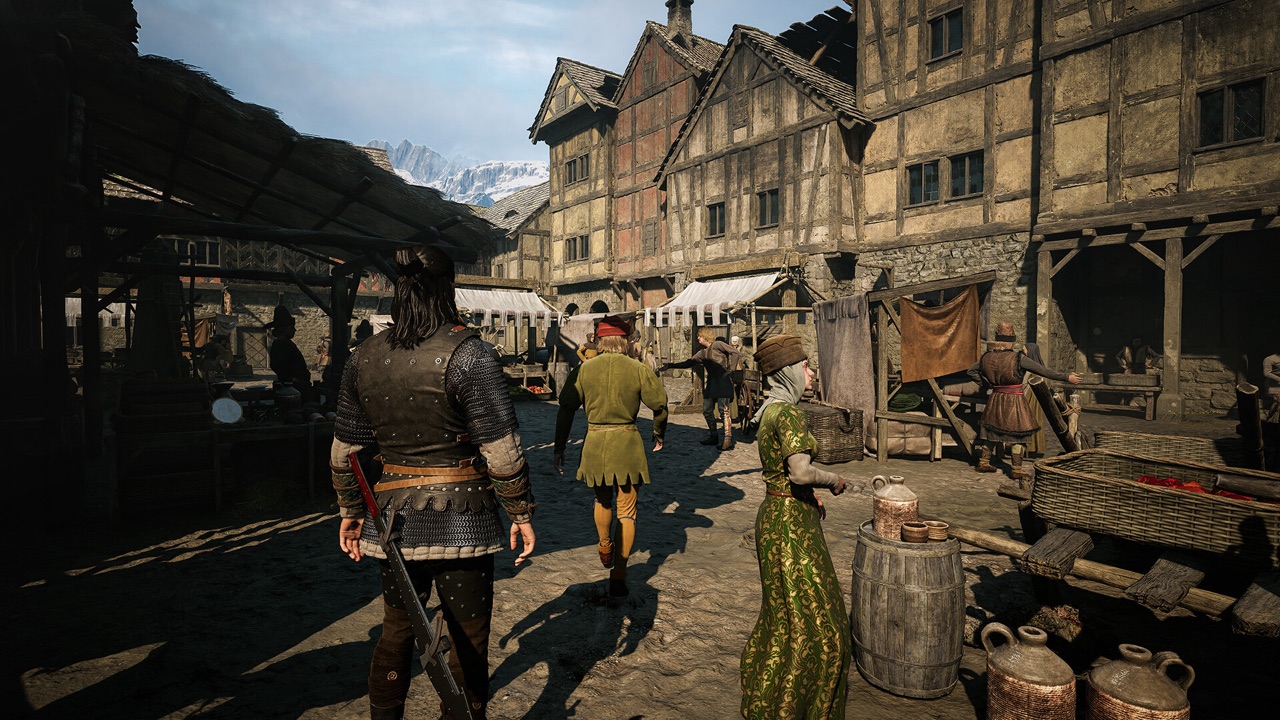
The Blood of Dawnwalker takes place in Vale Sangora, a plague-ridden valley in the Carpathian region in 1347 — an open world where every story beat, quest, and conversation competes for a finite 30-day/30-night clock. This page covers the world at the level launch information (v1.0) supports: the setting, the factions, and the named locations.
The setting
- Vale Sangora, the valley, is the stage for the whole run: the village, the war, and the valley exit (Coward’s Path) behind the hidden ending A Hero They Deserve.
- 1347, plague-ridden. The day is when the valley is fully human — talks, story quests, and the everyday business of a plague year — which is where Witchcraft and the clock do most of their work.
- A 30-day/30-night horizon. The clock moves on hourglass-marked actions — certain quests and conversations — and on learning or upgrading skills (1–2 segments each), while free exploration and combat cost no time. Running past 30 does not end the game — it changes which endings stay open. The 30-day timer guide is the full reference.
- Two faces of the world. By night the same valley comes back under different rules: Coen is a vampire, fights play faster and more aggressive, and the Blood Hunger pressure takes over — your durability is now your blood bar, and running low is the danger. The day/night dual-form guide covers how to structure a full day around both halves.
The factions
| Faction | Who runs it | Where they stand |
|---|---|---|
| Vale Sangora’s people | — | The village side of the conflict |
| Brencis’s war | Brencis at the top; Ambrus, Bakir, Xanthe running the field | The war’s top; the vassal arcs are its structural fights |
| The rebellion / the Manumits | Crake (Marat) | Against the vrakhiri — the human side of the war, and the ally chain behind the kingmaker ending |
The vrakhiri are the vampire side of the conflict that the rebellion (Crake/Marat) fights; the three vassals (Ambrus, Bakir, Xanthe) serve Brencis underneath him. Your ending is chosen in the final-quest dialogue, so what matters strategically is which ally chain you finish, not a “side” to hold. The character compendium has each figure’s profile.
Named locations (verified so far)
| Location | What it is | Why it matters |
|---|---|---|
| Laslea Village | Coen’s prologue home | The tutorial setting; Blasphemy (Banner theft), Anca’s Recipe, Force Feed, and Uriashi fishing all fire here |
| Stoneward Post | Military outpost / prison | Save Mert the Miller quest; daytime and nighttime infiltration routes both target the tower |
| Svartrau | The largest city (capital) | Cathedral (A Saint and a Monk → Forge It Anew), Altenmarkt market district, city walls; Vassal arcs converge here. Hosts 3 of the 11 Scouting Towers. |
| St. Tyna’s Monastery | Cursed nun monastery | Echoes of the Silenced Bells quest; earns you Saint’s Tibia and Relic of St. Tyna (Arbiter Armor components) |
| Yawning Burrow | Sanzhana tribe territory | Four Sanzhana side quests branch from here; Sanzhana (Tsarina) leads the tribe |
| Briar Sloughs | Swamp region | Moult of a Large Lizard location (Arbiter Armor component, from the Tatselwurm boss cave on the edge with Maragir Wealds) |
| Maragir Wealds | Forest region | Border with Briar Sloughs — the cave sits exactly on the boundary |
| Rockfalls | Mountain region | Burrow Sorrows Sanzhana quest kills kobolds here |
| Boar’s Back | Northern forest | Pearly and Precious Sanzhana quest (⚠ do not buy Silk Threads here; Come Hither has them free) |
| Crossroads Inn | Tavern | A Bulwark Against Darkness chain trigger point — look for Anca here at Infamy Level 4 |
| Tantari region | Wild zone west of Svartrau | Come Hither quest; Murohn boss; free Silk Threads in the boss arena |
| Aurelius’ Tower | Tower with ritual room | Flask of Quicksilver pickup (Arbiter Armor component, top floor) |
| Coward’s Path | Broken bridge west of the valley | Hidden ending location Cross at night with Planeshift to trigger A Hero They Deserve hidden ending |
| Silts Tower | Tower with upper door | Hidden ending location Open the upper door to enter the Home Sweet Home dream route → Together Forever hidden ending |
| The Castle | Brencis’s stronghold | Point of no return The finale. Night-traversal triggers ending warning — point of no return for a standard run |
Haunted Sites (4 total)
Four open-world events scattered across central Vale Sangora — each a field of corpse-strewn ground where restless spirits linger. Clearing one uses Astral Communion (Witchcraft, unlocked in the prologue, no point cost), costs 1 Time Segment, and drops a perk manual plus gear. They are day-only — show up as a vampire and nothing happens. Haunted Sites are revealed on the map with white skull icons after climbing Scouting Towers.
| Site | Location clue | Rewards (verified cross-source) |
|---|---|---|
| Site of Crucifixion | Hilltop near the Eerie Knoll shrine (Ancient Circle next to it) | Unholy Vitality Manual, Rebel’s Exquisite Falchion (epic weapon), a silver trinket |
| Mass Grave | Road northeast from Shrike’s Crag (just before a Tatzelwurm Lair) | Soul Reaping Manual, Tough Leather Boots (epic), Highland Noble Surcoat (epic armor), a silver trinket |
| River Massacre | Riverbed directly south of the Ruined Hut shrine (Buried Past quest location) | Soul Reaping Manual, Grayrock Blade (epic weapon), The Bulwark Ring, a silver trinket |
| Destroyed Caravan | West of Howling Keep in Tantari Woods | Unholy Vitality Manual, Nature’s Bane (epic ring), Ring of Quick Strikes, a silver trinket |
Scouting Towers (11 total)
The 11 towers scattered across Vale Sangora are the game’s viewpoint system. Each one is climbable only at night (requires vampiric traversal: Shadowstep + Planeshift, with Shapeshift recommended for speed). Climbing all 11 unlocks the Bird’s-Eye View achievement and fills your map with every open-world location — including the Haunted Sites above. Towers consume no time segments, so you can chain the full set in one night after the prologue.
| Tower | Region | Chest reward |
|---|---|---|
| Church Tower | Starting Village (Laslea) | Aether Flow Manual |
| Briar Sloughs Tower | Laslea Glen, south of the village | Amalgam Manual |
| Maragir Wealds Tower | Eastern edge of Maragir Wealds | Blasphemous Echo Manual |
| Boar’s Back Tower | Shrike’s Crag, west of Svartrau | Potent Blood Manual + Duelist’s Pendant (epic amulet) |
| Neustadt Tower | Svartrau, southwestern battlements | None (map reveal only) |
| Market Tower | Svartrau, north-central Altenmarkt district | None (map reveal only) |
| Cathedral Tower | Svartrau cathedral complex | None (map reveal only) |
| St. Tyna’s Grove Tower | Between Ambrus outpost and an Ancient Circle | Forbidden Sigils Manual |
| Tantari Tower | Tantari Woods, northwest | Lasting Malediction Manual |
| Rockfalls Tower | South of Oghasti, west of Lunar Manor | Blasphemous Echo Manual |
| Silts / Aurelius Tower | The Silts settlement, southern end of the snowy forest (a.k.a. Aurelius’ Tower) | Unnatural Resilience Manual |
What is not mapped yet
Until that happens, the practical way to navigate: cluster activities by region so a single trip covers a region’s arc, its vassal side quest, and a skill investment rather than three separate hops across the Vale — travel itself costs no time, but bundling keeps your day budget clean and your skill investments (which do cost segments) on purpose. The early game walkthrough has the priority order for the first act. If you have verified a regional name, section, or collectible in your own playthrough, the comment section is where corrections land; confirmed reports get added here with a date.